
Nothing depicts the soul of a place better than the faces that occupy it. Travel and Street photography can be some of the most rewarding and interesting photographs that we can make. It does, however, take a special approach and way of thinking.
In this article I will give some tips about how I work and the tools I use, both physical as well as mental, that help me get better images.
Many people who follow me tend to be landscape, nature, and scenic photographers. Street photography is a little out of their bailiwick, but if you have read this far, you are, at least interested in the genre. Many of my comments will compare, contrast, or point out the differences between the approach for landscape/nature vs. travel and street.
Perhaps the biggest difference between the two approaches is the use of a tripod. Most landscape/nature photography demands the use of a tripod, but most travel and street photography does not. The primary reason for this is that during travel and street photography the photographer is moving relatively quickly, and photographic opportunities present themselves and disappear in the blink of an eye, by comparison, the landscape photographer works slowly the methodically usually facing the same subject for a long time. The resulting photographs have very different objectives as well. It could be said that the landscape photographer tries to create “timeless images” whereas the travel/street photographer tries to create “timely images”.
This basic difference in camera technique and objectives means that the tools for one may not work as well as the tools for the other. In travel and street photography the old saying that the best camera is the camera you have in your hand is very true. The spontaneousness of many photographic opportunities is so random and fleeting that having a camera is half the battle. So carry a small “point & shoot” camera with you at all times. I have a couple that I use and really like. I use the Fujifilm X-70 and the Fujifilm X-100F there are newer models of both these cameras, but these do a great job. The X-100F is the most current camera and has a 24Mp sensor so it has all the resolution I need, in fact for my most recent exhibit in Mexico City several of the images were made with these cameras.
Using the smaller “point and shoot” style cameras achieves another objective for the photographer—they are less conspicuous than a typical full frame DSLR. This means the subjects frequently are less intimidated by the photographer. In fact, when I am not using one of my “point and shoot” cameras I strip my Fujifilm X-T4 down (removing the battery grip) and use a smaller wide angle prime lens. My favorites are the Zeiss 12mm f2.8, and the Voitlander 23mm f1.2. The primes lenses tend to be very sharp and usually are faster, which can make a huge difference when you are shooting after sunset, or in dark interiors.
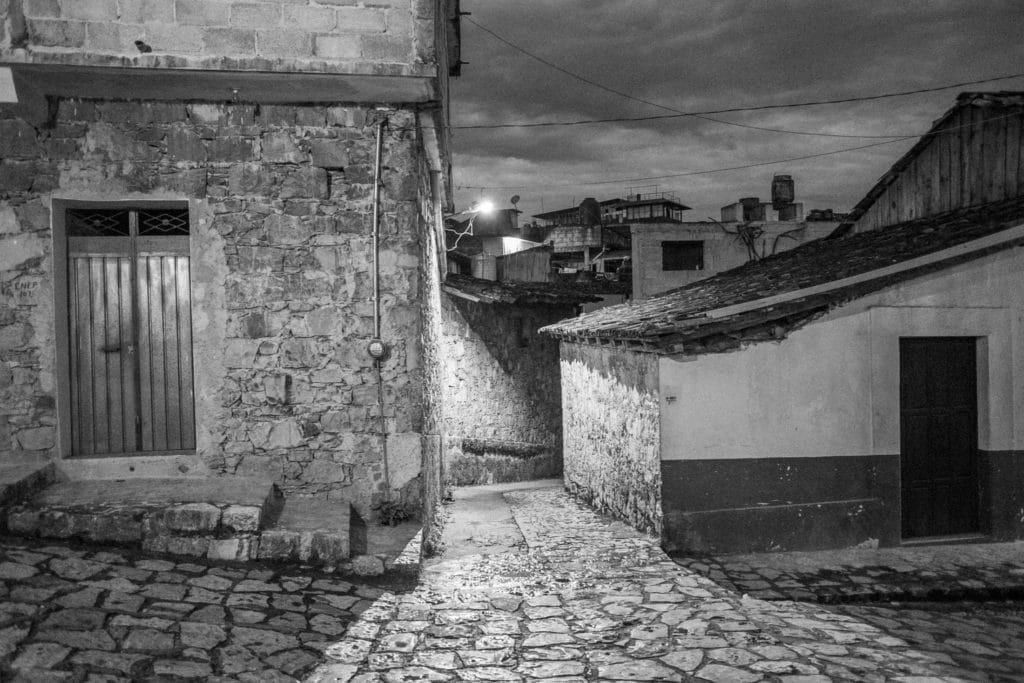
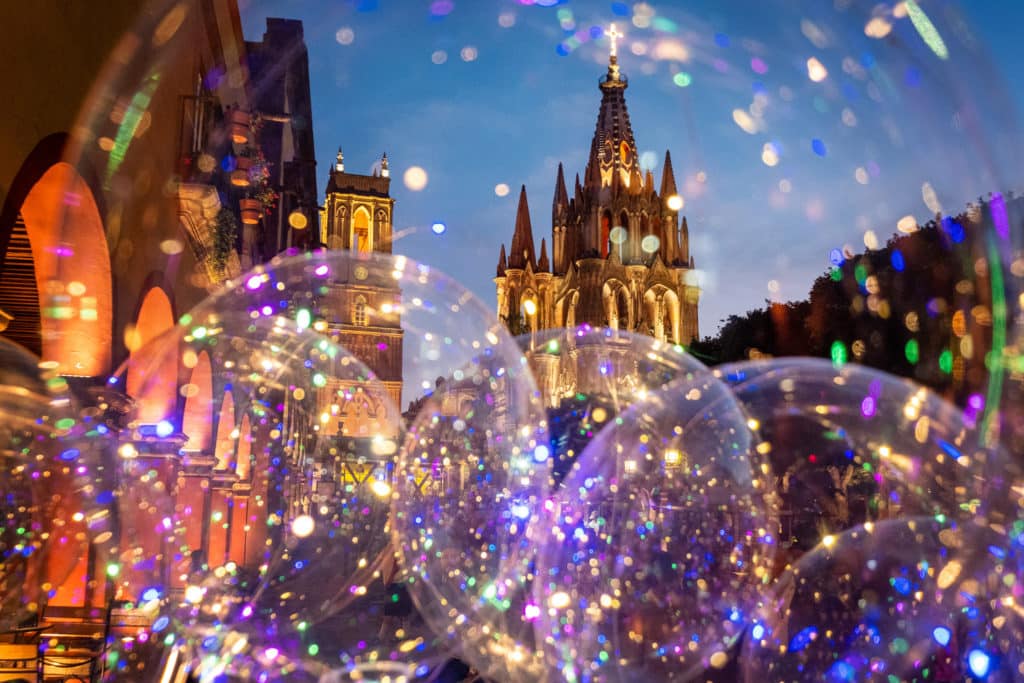
Much of travel and street photography is done after sunset, after all this is when most cities really come alive. Handholding in low light presents some challenges. Neither of my “point and shoot” cameras has image stabilization but the size and relatively fast speed of the lens means I can still get great images. Shooting with my X-T4 with its 4 stops of IBIS (In Body Image Stabilization) while shooting with lenses that are 2.8 or faster means I can overcome many of the low light challenges. Street photography means you must get used to using high ISO settings. 1600 or even faster is not unusual. Most landscape photographers would cringe at these ISOs!
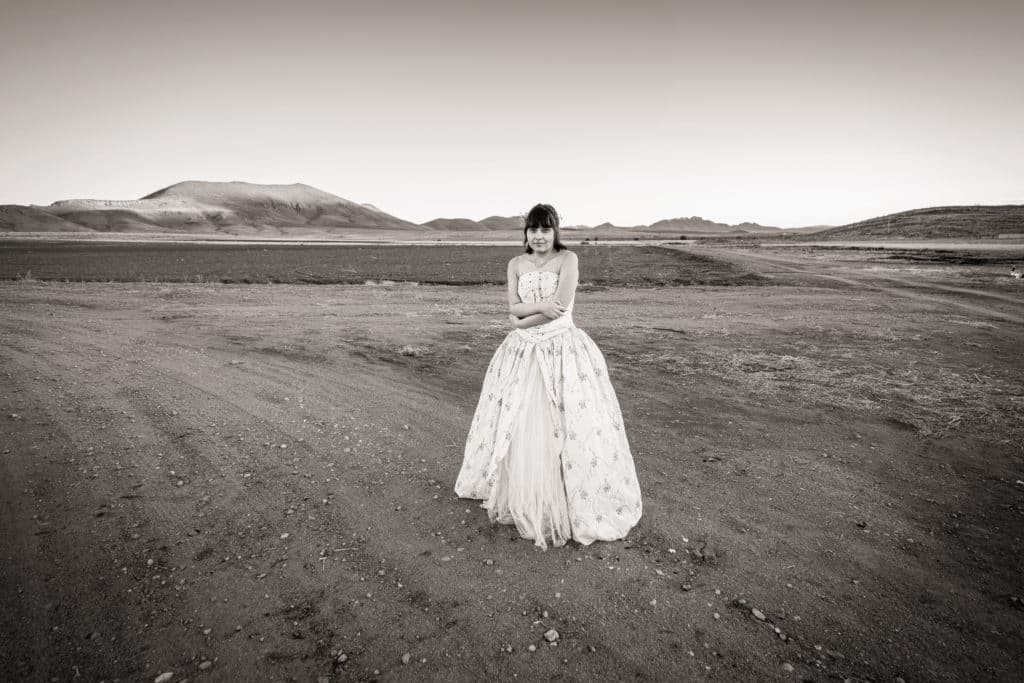
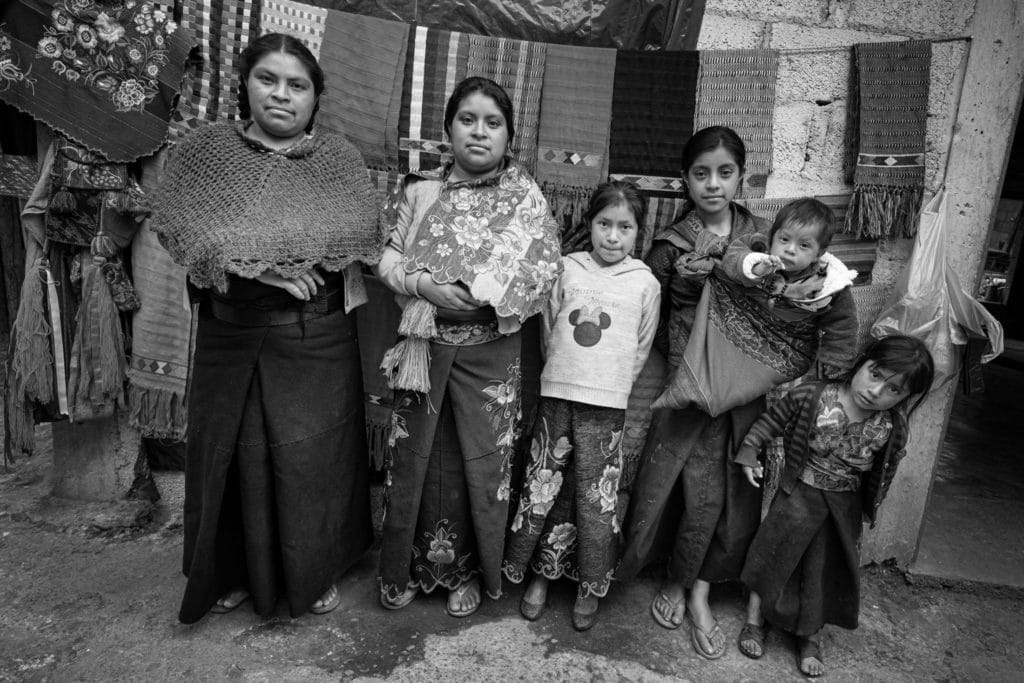
Approaching subjects in travel and street photography presents some special considerations. Unlike landscape photography where the subject never talks back, street photography requires the photographer to develop a relationship with their potential subject. This is typically the hardest part of making a transition from a landscape photographer to a travel/street photographer. But trust me, if I can do it, so can you. I was born and raised in a Minnesota/Norwegian family. Probably the most reserved bunch of people you could ever meet. Travel and street photography requires you to put yourself out there, you cannot be reserved! You have to engage people and communicate with them. Even when I can’t speak the local language, I find ways to communicate and put at ease potential subjects.
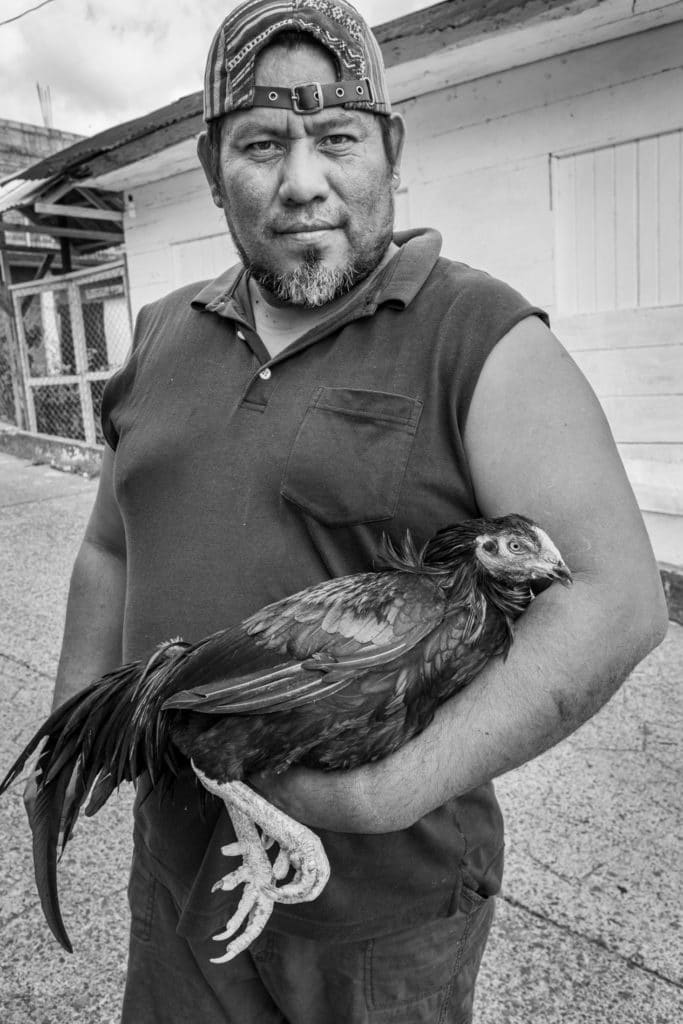
If this is an area where you struggle, consider these strategies to overcome your fears. One approach is to start by photographing details and subjects that don’t involve directly addressing people. Be aware, however, that in some cultures photographing someone’s animals can be more offensive than photographing people. So, start with details about the area that are interesting. After you’ve warmed up a little then try asking someone for a portrait. Even if you don’t speak the local language, you can make this request by gestures and eye contact. What is the worst that can happen? They turn you down? Go down the street and try again. Perseverance is key, did you create a masterpiece with your first attempt at a landscape photograph?
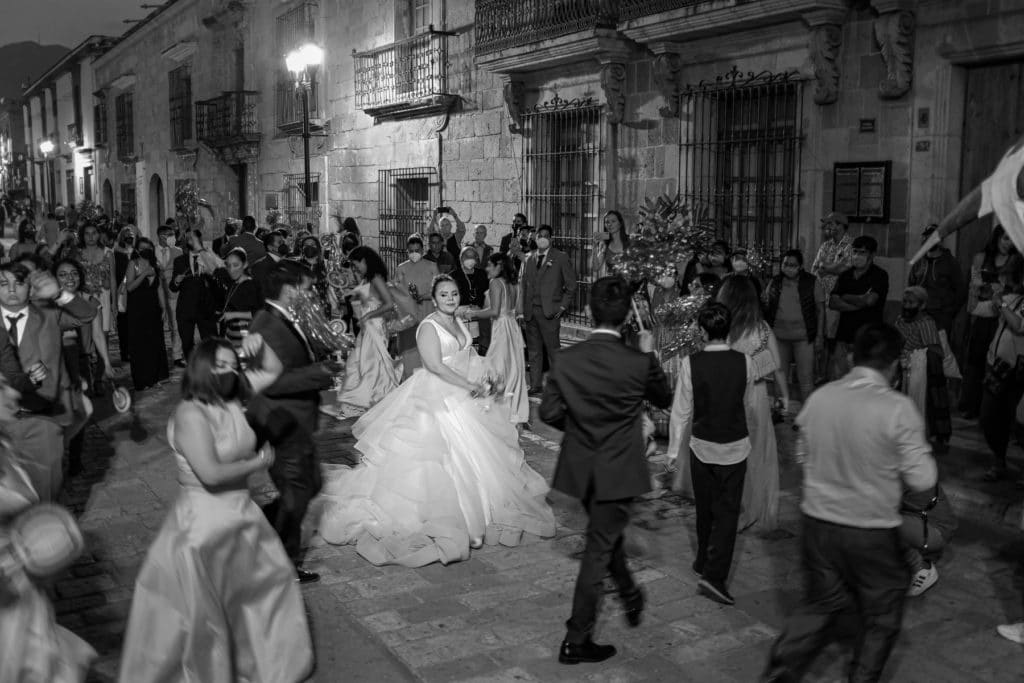
Some cultures are easier to photograph than others. Latin and African countries I have found to be very accepting of the camera, the Mid-east, and the US not so much. Photographing minors is best done only with the permission of the parent or guardian. Events, like parades, or street performances offer the opportunity for great photographs and the presence of a camera or photographer isn’t an issue.
There are two key requirements for great travel and street photography: always have a camera, and use it frequently! If you meet those two requirements, you will come home with some wonderful images.