
This tutorial will cover how to Float Mount a print. This tutorial does not cover the assembly of the frame. Keep in mind that your frame should have adequate depth or “rabbit” to accommodate the additional depth of a float mounted print.
You will need:
Clean work table with a smooth cutting surface.
Ruler
ArtCare Acid Free Foam Core (3/16th inch thick)
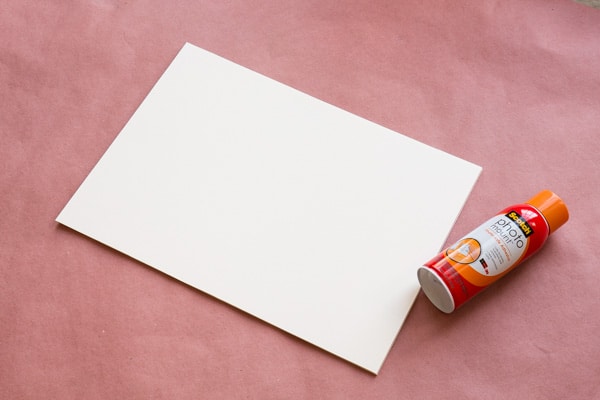
Scotch Photomount spray adhesive
Scotch ATG framers tape and dispenser
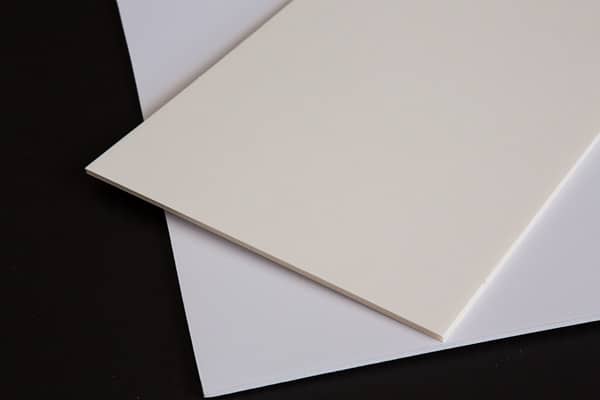
Here is an illustration of the two common types of foam core. On top is Bainbridge Artcare Acid Free foamcore, underneath is a standard non archival white foamcore. You can tell the difference by the feel as well; the Artcare has a bit of “tooth” to the surface.
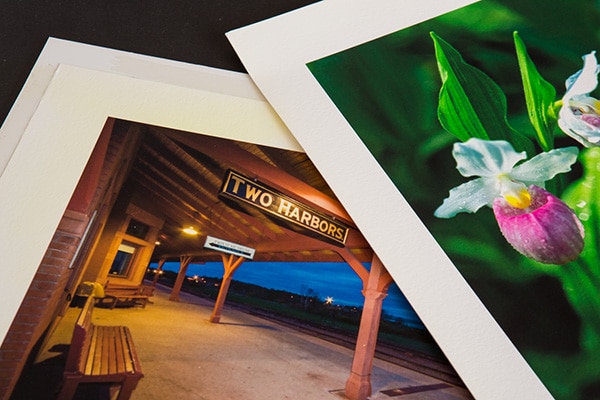
Here is an example of what happens if you don’t use archival or “Artcare” foamcore. Notice that the print underneath has yellowed considerably. Both prints were created at the same time using the same paper. The one underneath was framed using non archival foamcore–and it shows!
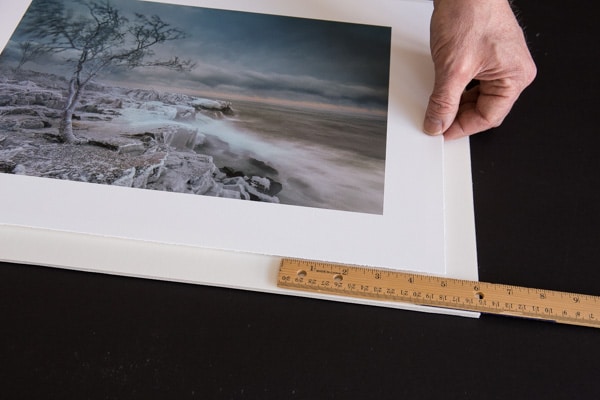
First cut your backing board to the size of the frame you intend to use. Think about how big your print will be and how much border around the print you want showing. Proportions are important. In this example I have a 10x15inch image size finished to a deckled 14×19 inch print with a frame size of 16×21 inches.
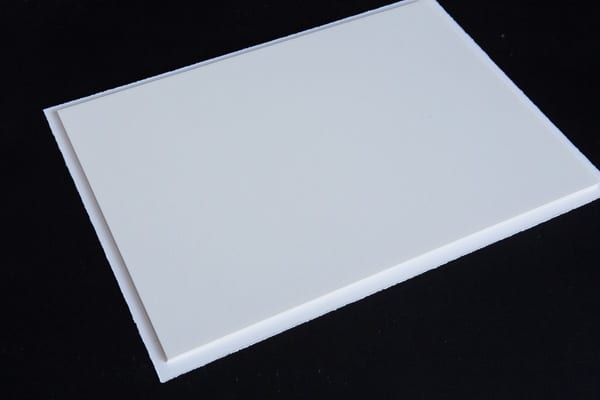
Next cut your float mount board–your print backing board should be about 1/2 inch smaller on all sides than your finished print so in this case the backing board is 13×18 inches.
Coat the float mount board with Scotch Photo mount adhesive. I use a liberal amount. The directions say to coat both the print and mount surface–but that would not work for this application and I’ve never had a problem mounting in this manner provided I get a complete coverage of the spray mount adhesive.

With the print upside down place the float mount board in the middle of the print and press to give the mount good adhesion. It is ok to simply eyeball the centering of the mount here.
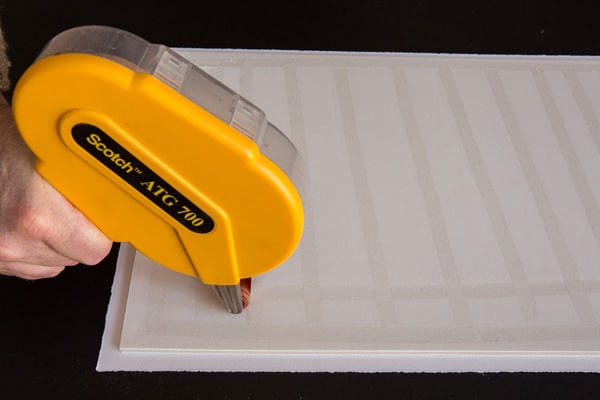
Cover the back of the float mount with a liberal application of Scotch ATG tape. I use a lot so the print doesn’t slip in the frame later.
Lightly place the float mount onto the backing board–if you don’t press down you can still position the print to make sure it is centered.

Check the borders to make sure they are uniform.
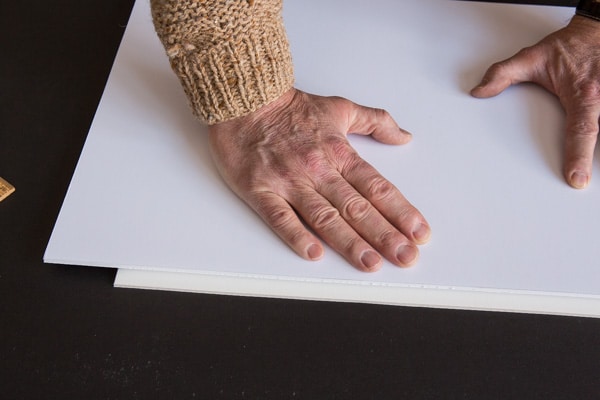
Cover the image with a piece of clean foamcore and press the mount board to the backing board for good adhesion.
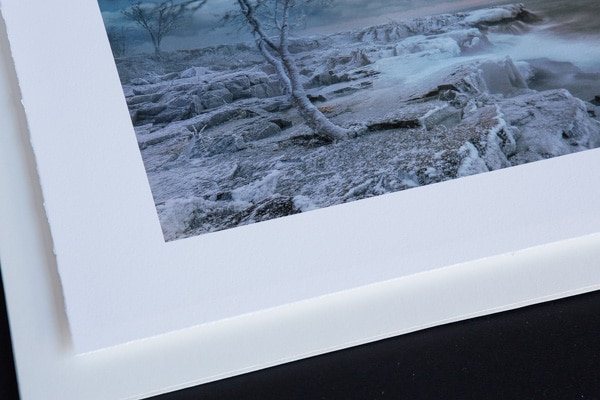
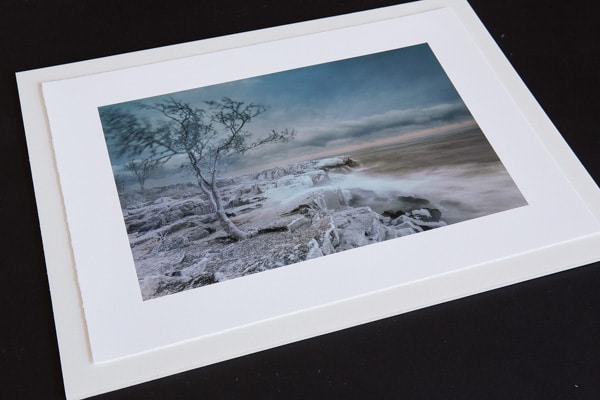
Our finished float mounted print will have a good shadow effect to add depth to your final framed artwork.
I should note that this technique is not “museum” quality archival. While I use conservation quality materials and adhesives the mounting of a print is considered a no-no among the museum set. My experience has shown me that while using those techniques are great for aficionado’s the average print buyer will not buy a wavy print no matter how good the image is.
My Fine Art Print Workshop in November covers these techniques and more. Check it out here: The Fine Art Print.