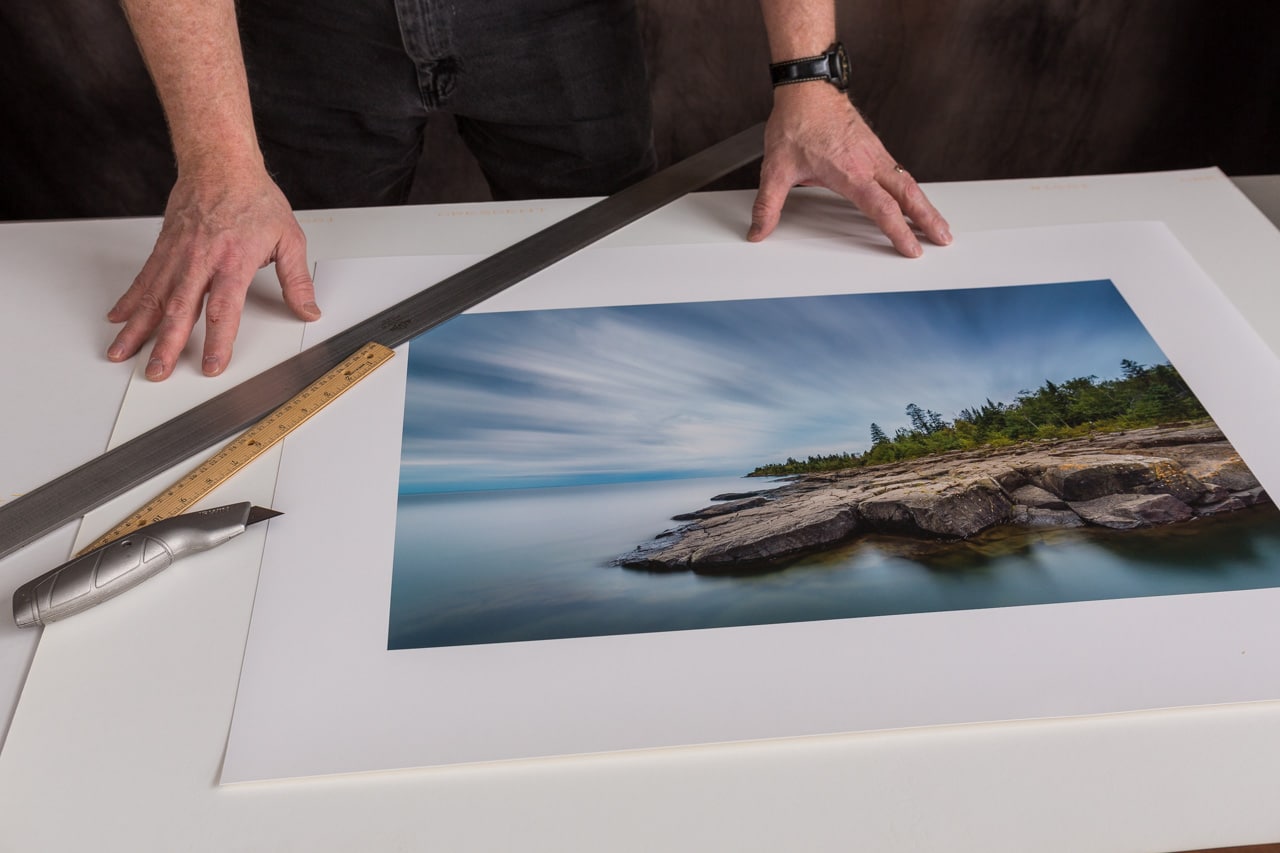
 This tutorial will cover how to deckle a print. Prints must be made on a rag or fine art type of paper in order to deckle properly. Images printed on photo type papers will not tear properly for the deckle.
You will need:
Clean work table with a smooth cutting surface.
Ruler
Utility Knife
Heavy Straight Edge (mine is a 42 inch stainless steel variety–well worth the cost!)
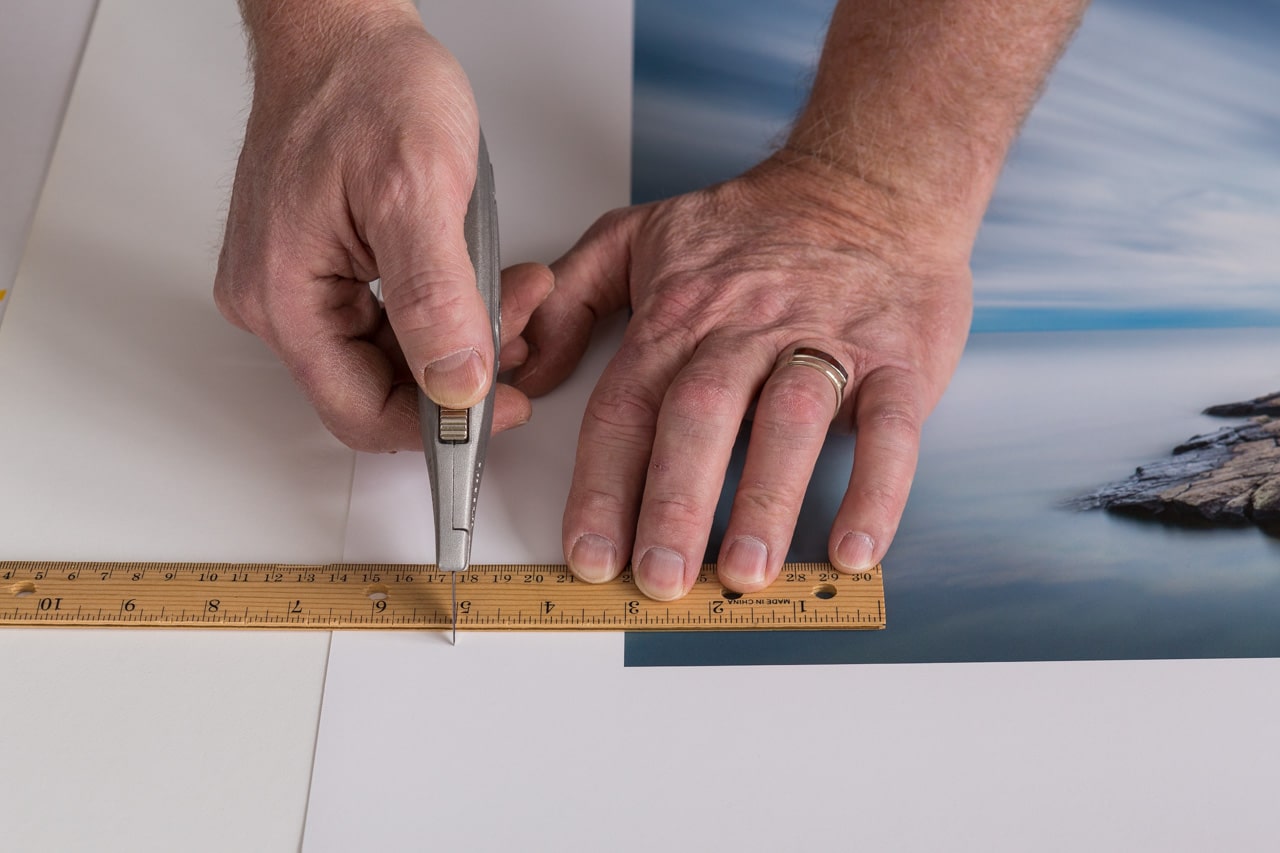
First mark the width of your border by measuring and piercing the paper with a sharp utility knife, in the example above I am making a 2 inch border.

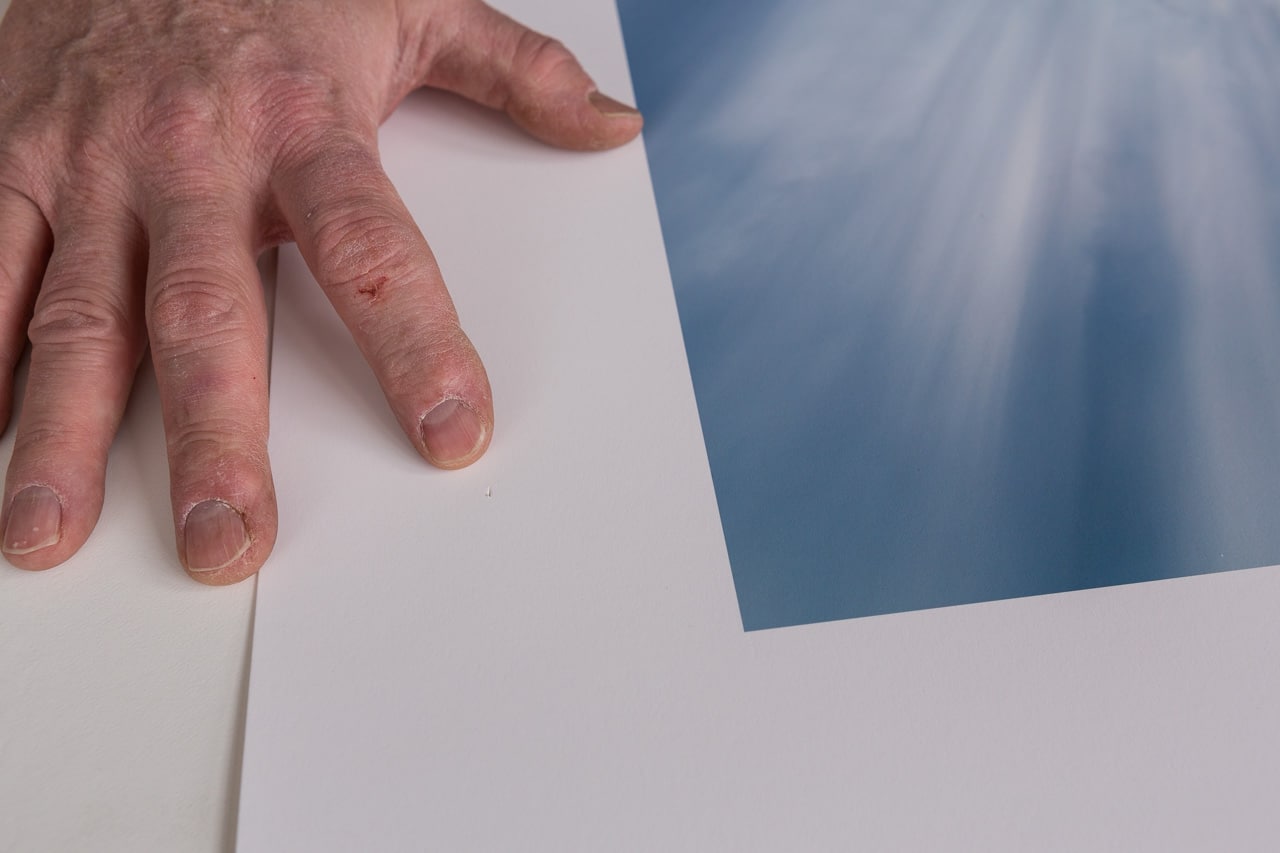
Notice the pierce in the paper above. Mark all 4 borders in this manner.
Flip the print over so the image is face down. You will notice there are 8 small punctures in the paper.
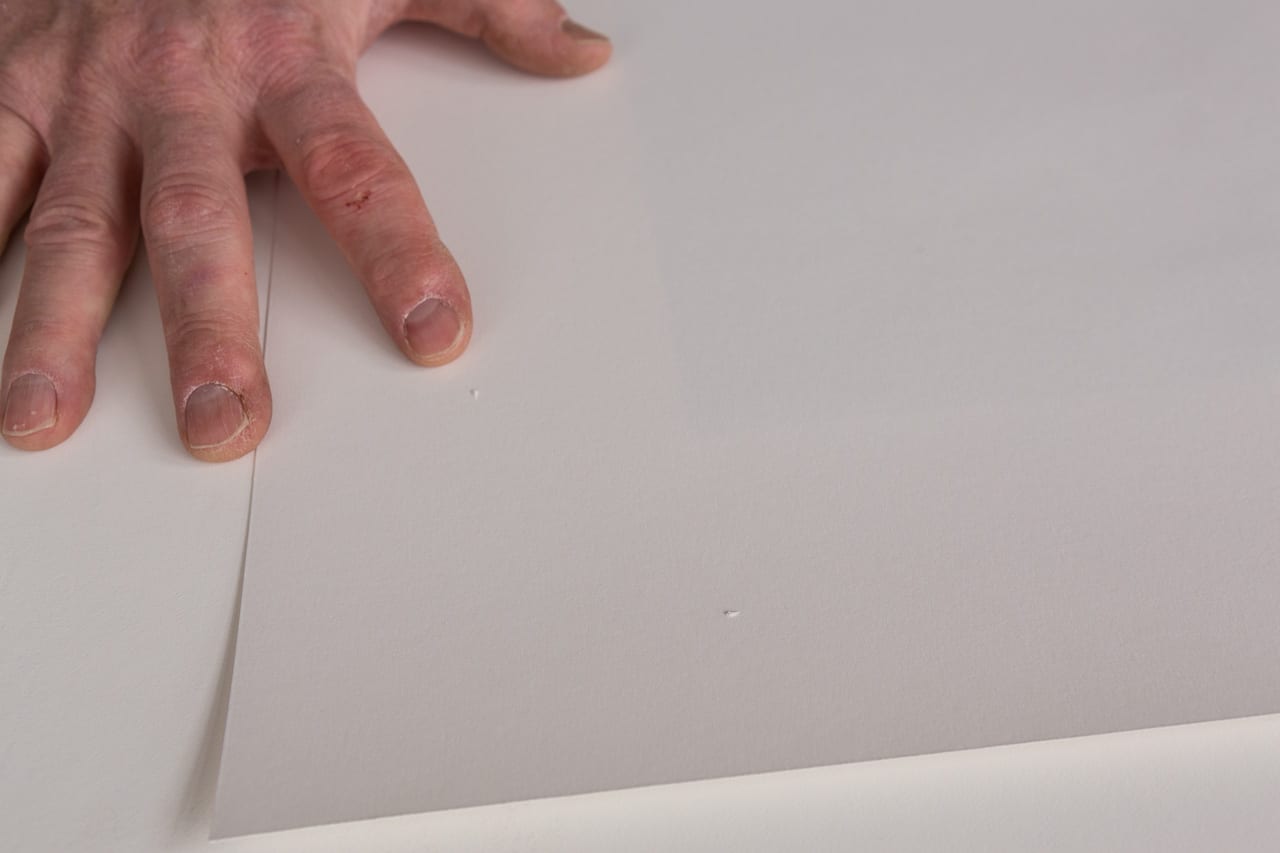
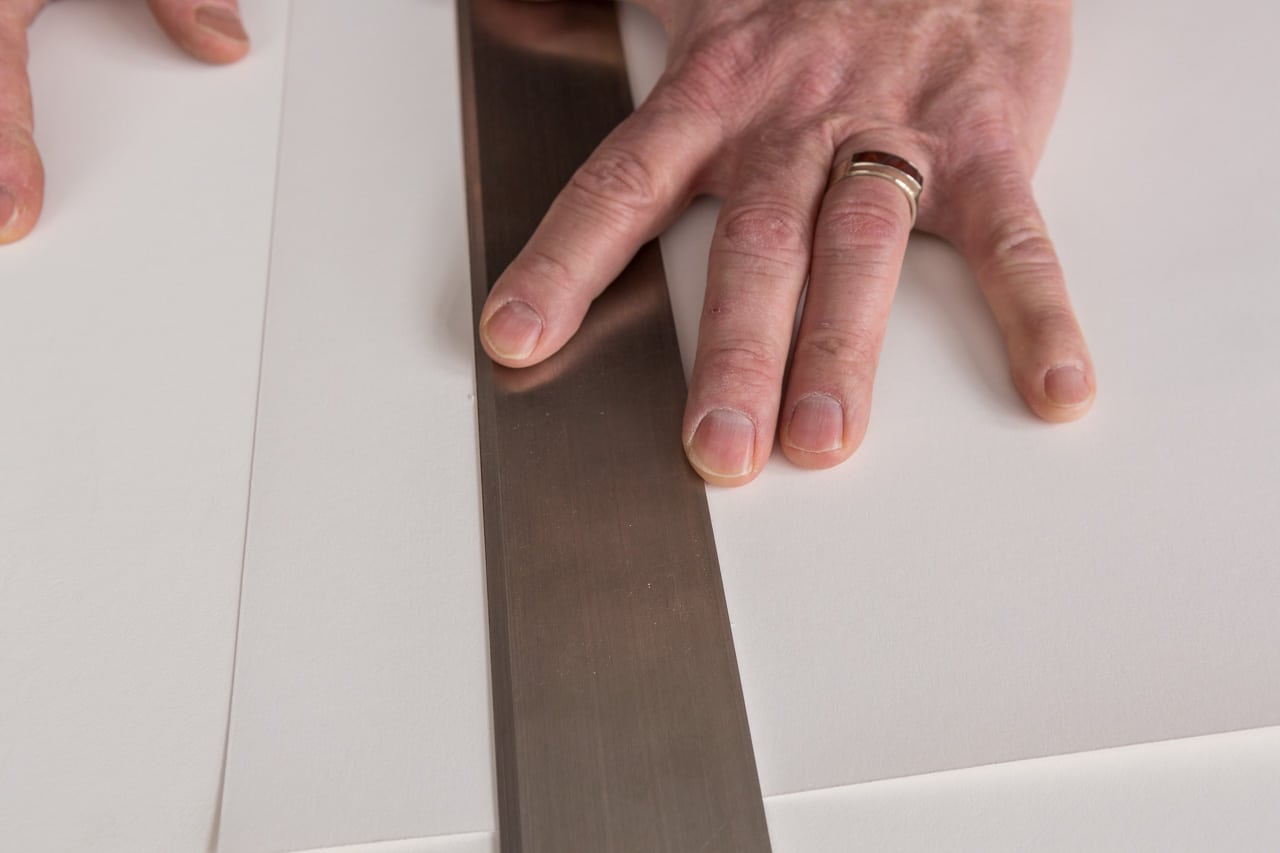
Align your straight edge along these marks on one of the borders.
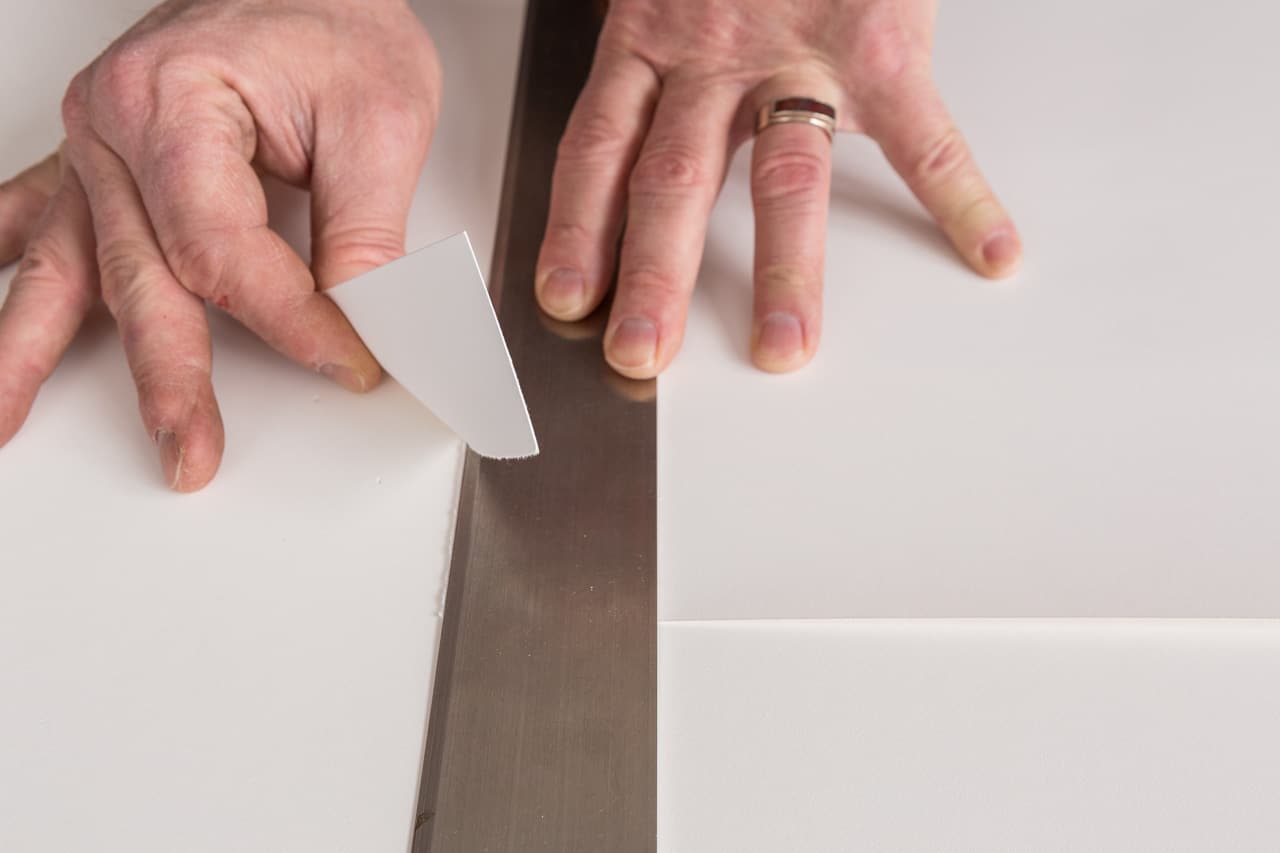
Grab the paper and begin to tear. Notice that I am keeping my fingers close the where the tear is–this keeps the torn edge uniform.
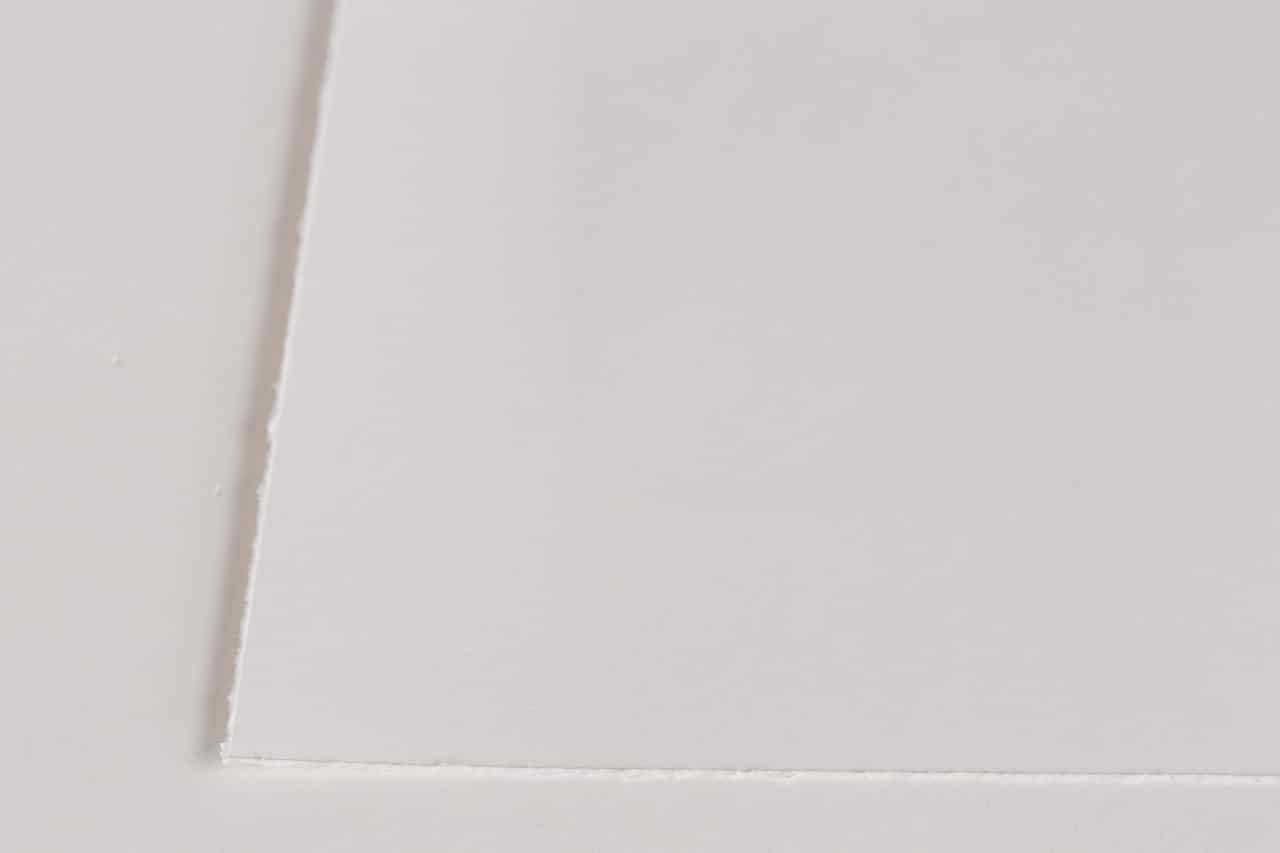
Once you have completed tearing all the borders you’ll notice that there is a slight ridge that follows the tear. This is caused by the contact with the straight edge.
Flip the print back over and you’ll notice the ridge is not visible.
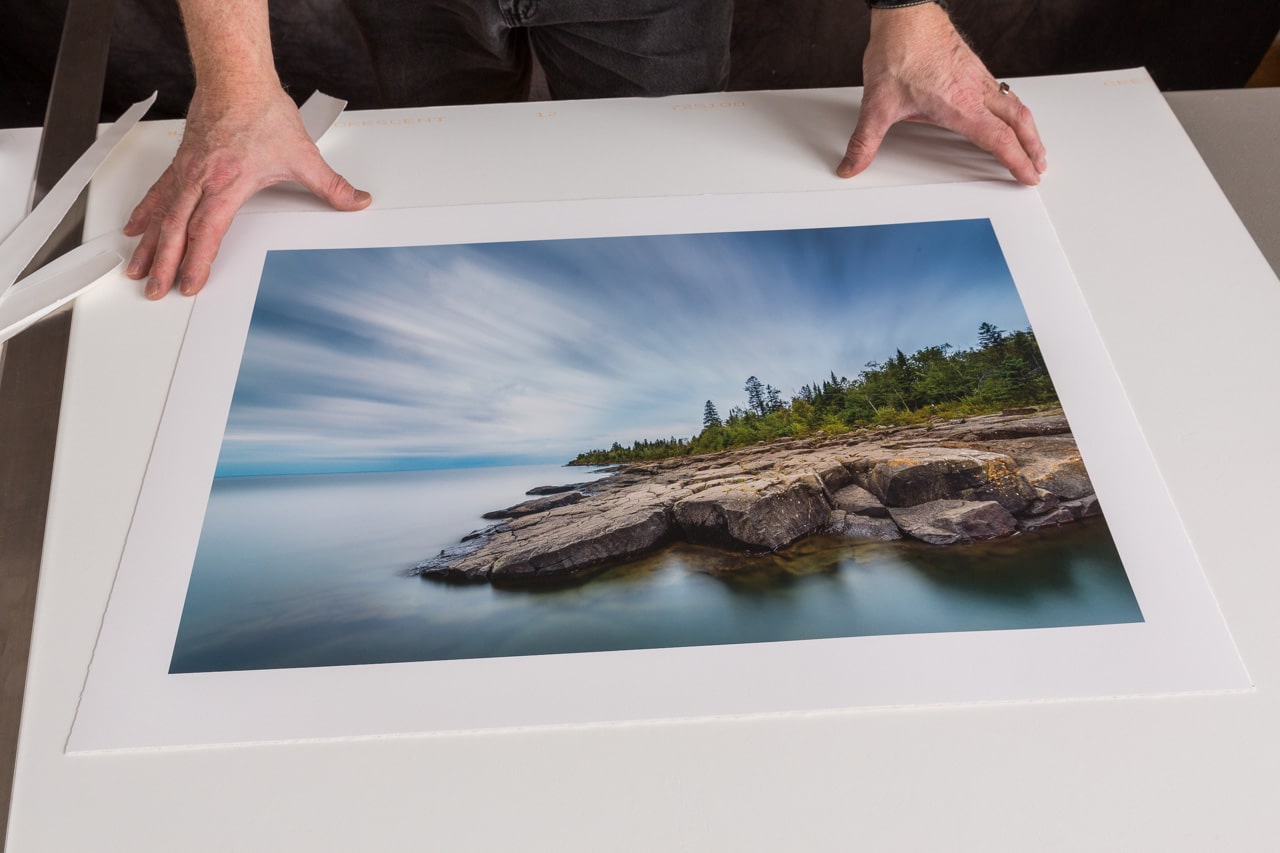
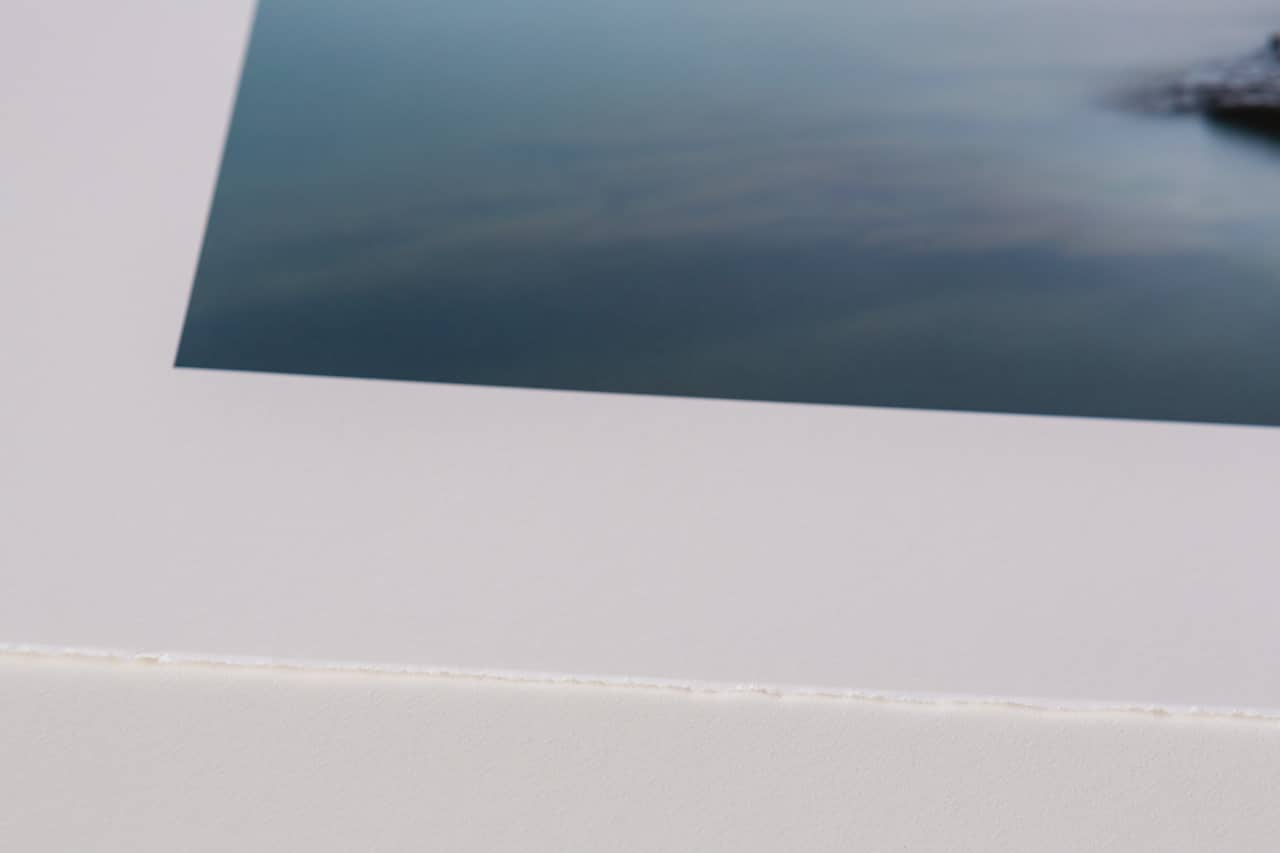
Our finished deckled print.